

Have you ever wanted to put an image in a text? You totally can do it using Adobe Photoshop. In this tutorial, you will learn how to place an image in a text with this easy to follow, step by step tutorial. This is perfect for Photoshop newbies. I will be using an image taken in Simala Shrine also known as the Cebu’s Castle Church.
Step 1:
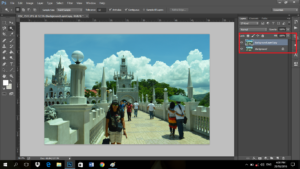
Open the image that you want to use in this activity. Then, duplicate the background layer using Ctrl + J. You can rename the layer just double click the layer name.
Step 2:
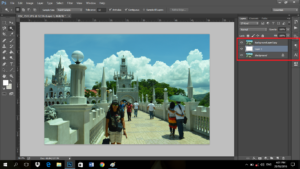
Add a new layer, it is found beside the delete icon down the layer palette. If your new layer is transparent, change it to white or to any color that can cover the background layer. Now, if your new layer is on the top of the BackgroundLayerCopy, drag the white layer down, under the BackgroundLayerCopy.
Step 3:
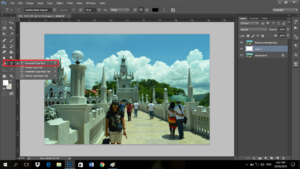
To type in your desired word, choose the type tool found in the toolbar. Type tool has four (4) types, we will use the Horizontal type tool for this activity.
Step 4:
After choosing a type tool, click anywhere on the image and start typing. After typing, drag the BackgroundLayerCopy to the top of the text layer. As you notice, the word is covered by the image.
Step 5:
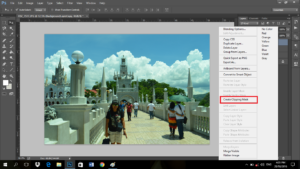
If you followed step number four, you can do this activity right. Right-click in the topmost image layer which is the BackgroundLayerCopy in my example. Choose Create Clipping Mask in the options.
This will be the effect of creating clipping mask. We still have some steps to do to make this activity more appealing.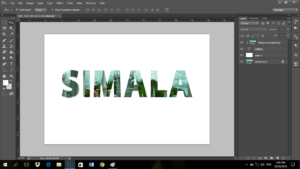
Step 6 (Optional):
If you want to see the whole image, hide the white layer by clicking the visibility button found beside the layer (the eye icon).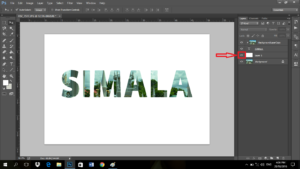
Step 7:
Put layer blending in the text layer so that it will be readable even if we don’t include the white layer. Right-click on the text layer and choose blending options. It is up to you if what effects will you add in your text. To enter to the effect options, just click the effect name so that you can change the settings of the effect. In my example, I used Bevel and Emboss, Stroke and the Drop Shadow. The checkboxes will distinguish the effects that you have chosen. If you are contented already with the output, just click OK to save the effect.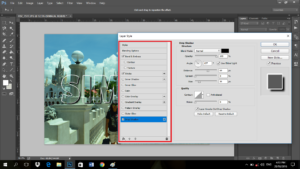
After all the steps, this will be the Final output.