
Do you ever get challenged by your friends to sketch something? After a few attempts, you realized that you’re not an artist by heart. And now you’re probably thinking of ways on how to cheat drawing (believe me I did). Well, I’m glad you found yourself here!
In this tutorial, we will create a pencil sketch with the use of Adobe Photoshop. We only need an image to be converted into a Pencil Sketch. I will be using Angelina Jolie’s picture as my model.
Step 1:
You have to open the image that you will be using for this activity. Go to File, then select Open or use the shortcut key for opening a file which is Ctrl + O.
Step 2:
If you already have your image opened in Photoshop, duplicate the background layer or the image. Press Ctrl + J to duplicate the layer easily. As you can see in the layer palette, you already have two (2) layers. Click Layer 1.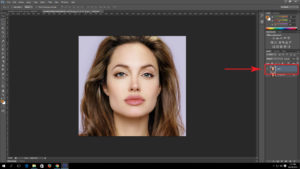
Step 3:
After highlighting Layer 1, we will desaturate the image to remove the color. Go to Image → Adjustments → Desaturate (Shift + Ctrl + U). 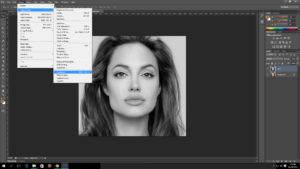
Step 4:
Click layer 1 again then press Ctrl + J to duplicate the Layer. Then you will have now three (3) layers in your layer palette.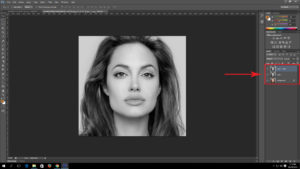
Step 5:
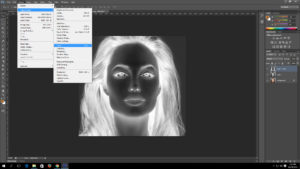
Click Layer 1 copy then, go to Image → Adjustments → Invert (Ctrl + I). This will give us a negative effect of the image.
Step 6:
After you have inverted the Layer 1 copy, change the layer blending mode found in the layer palette from Normal to Color Dodge. Eventually, your image will turn white.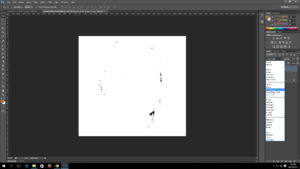
Step 7:
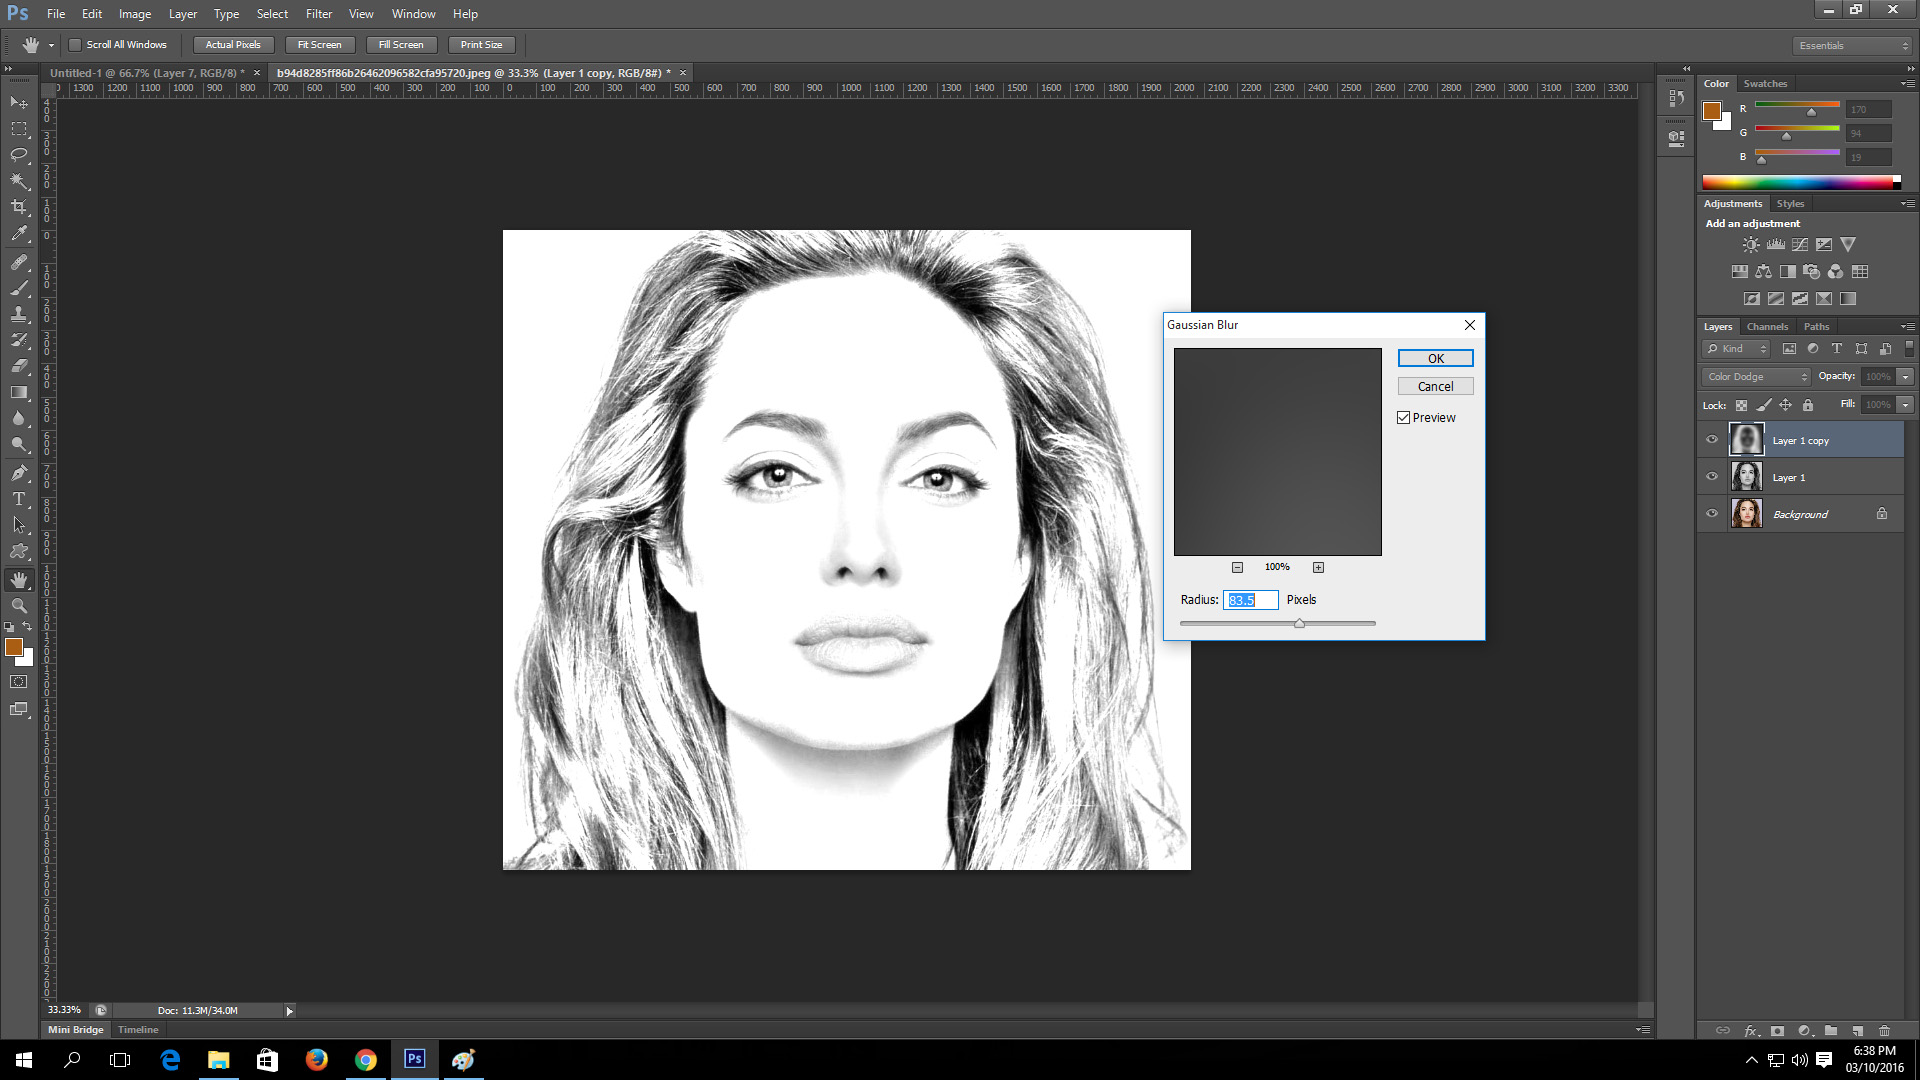
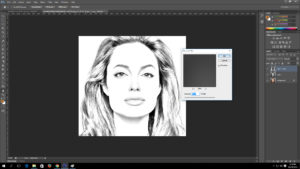
Now, go to Filter → Blur → Gaussian Blur. The Gaussian Blur that is found on the top option in my image was the recently used filter. If you want to apply another filter you have to locate it in the options below so you can adjust the radius.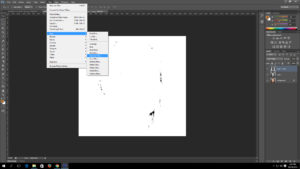
Step 8:
There is a window that will show you the radius that you can adjust. It will depend on your image as to what will be the value of the radius. Just use the slider to adjust it and to have a preview of the effect. If you are already satisfied with the output, click OK.
Step 9 (Optional) :
If you want to add a little color to the pencil sketch, just duplicate the colored background layer then drag it to the top of the layers.

Step 10 (Optional) :
After dragging the background copy to the topmost layer, change the layer blending mode to Overlay and then adjust the opacity and the fill of the layer to blend it well.
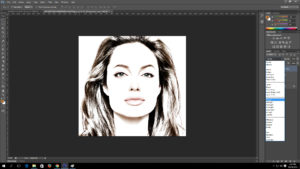
There we go, we now have a pencil sketch and a colorized pencil sketch. If you are not still contented with the output, you can adjust the levels of the color, it is found in the Image tab then adjust and select Levels. Then you can now save it as a JPEG of PNG file.
