
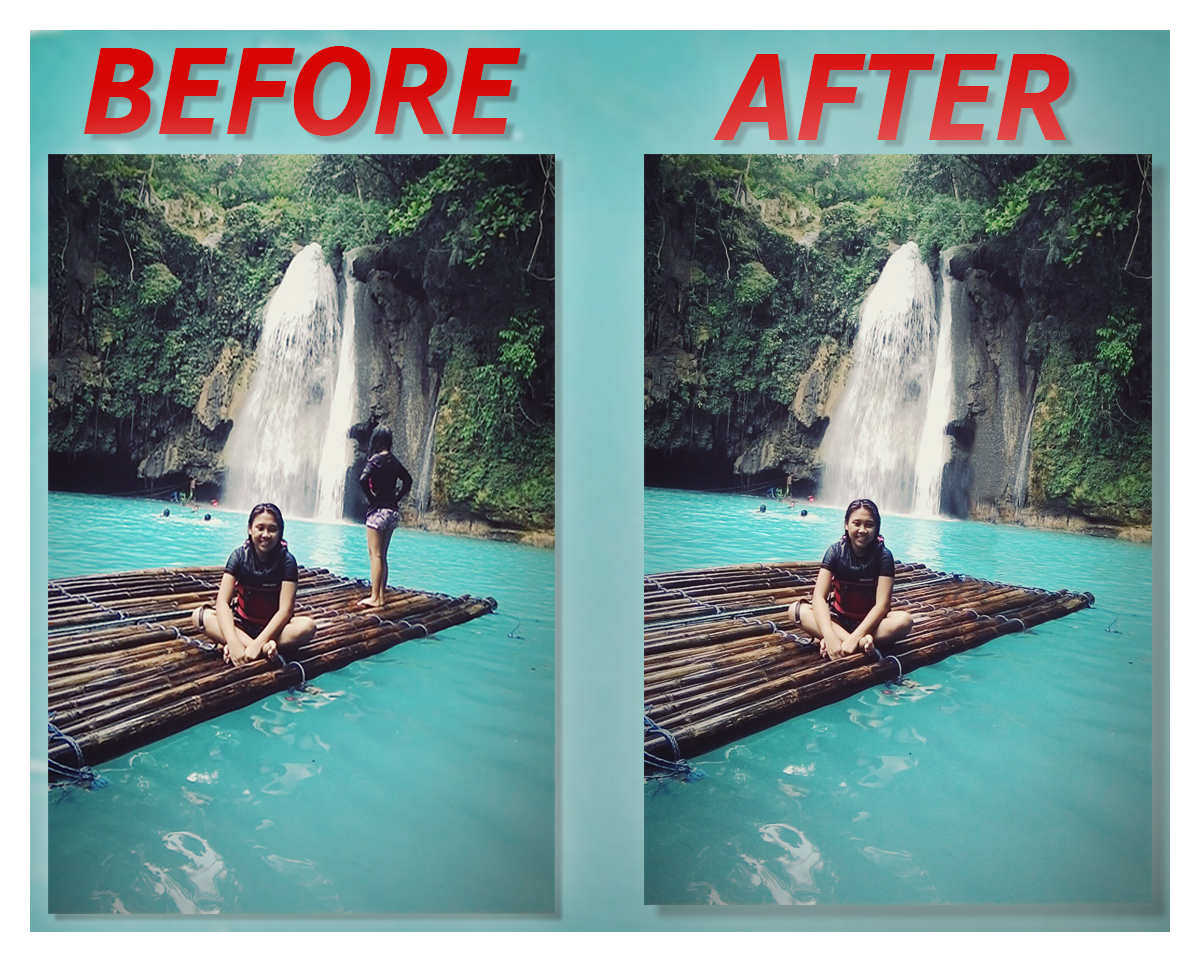
Removing a Person in a Photo Using Adobe Photoshop
Have you ever wanted to get the perfect profile picture on Facebook but you seem unsatisfied with your picture because of the photo-bombers behind you? I know it’s annoying but it cannot be undone. At the same time, what you can do is, remove a person or people in the picture! It’s as if they were never there! In Photoshop, there are several techniques you can use for removing people or something from a picture. There is the content aware feature of Photoshop, Healing brush tool, patch tool, clone stamp tool and some other tools in the application. But in this tutorial, I will be using clone stamp tool to delete a person in the image.
In this tutorial, let’s learn how to remove a person from a photo!
Step 1:
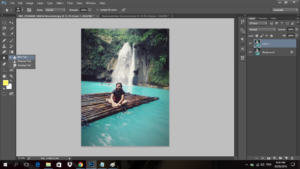
Open the image that want to edit in Photoshop. We will be using pen tool and clone stamp tool.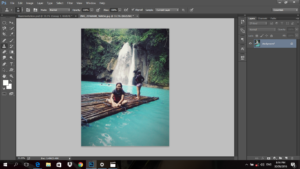
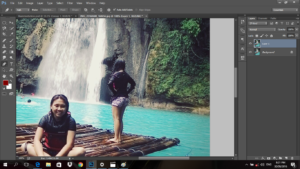
Step 2:
We will delete this girl on the right side of the image. Choose pen tool in the toolbar, we will use it to trace the girl. You don’t need to be precise with the edges that you have to select.

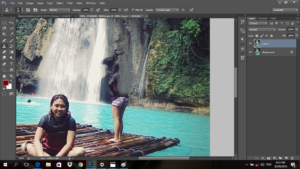
Step 3:
After tracing the part that we are going to delete, press CTRL + Enter to select the part that we traced or you can simply right-click and choose ‘make selection’.
Step 4:
You can notice that the only part that is affected if you do something in the image is the selected part only. Now, select Clone Stamp Tool in the toolbar. Clone stamp tool is used to clone a part of an image.

Step 5:
Choose a sample that will fit to the part of the girl. Make sure that the sample will not make it obvious for the changes that you will make. If the background of your image is a plain color, it will be easy for you to delete something in the image, but if you have an image like this, this will be tricky. So you must be careful of choosing the sample. To choose sample, press and hold Alt key then click on the part that you want to use as a sample.

Step 6:
Then if you think you are done in your selected part, press Ctrl + D to deselect the selection. You can still see the outline of the girl in my image. That is why we still have to select samples that will let the outline blend with the background. this time, the whole picture can be affected with the changes that will happen to the image. So you have to be extra careful.
Make sure that there will be no part of the girl that will be seen in the image after using clone stamp tool.
Step 7 (Optional):
Just adjust the lighting of the image to enhance it and you can also, use the blur tool to make a blur effect in the background. With this, if you have some imperfections in your work it can be covered.
SO this will be the final output of the activity. The output depends on how patient you are and how meticulous your eyes are.
