

Image Trace Tool
Adobe Illustrator is often used to convert pixelized artworks, like in Adobe Photoshop, into a clean vector line art. There are two ways to trace an image in Illustrator CC. First is you can just manually trace the image using a drawing tool, and the second one is you can use the Image Trace feature in Adobe Illustrator CC. Image Trace will automatically convert a bitmap image into a vector graphic.
To start with, we need a JPEG file or any pixel-based image. I will be using the image below for the activity.

Step One
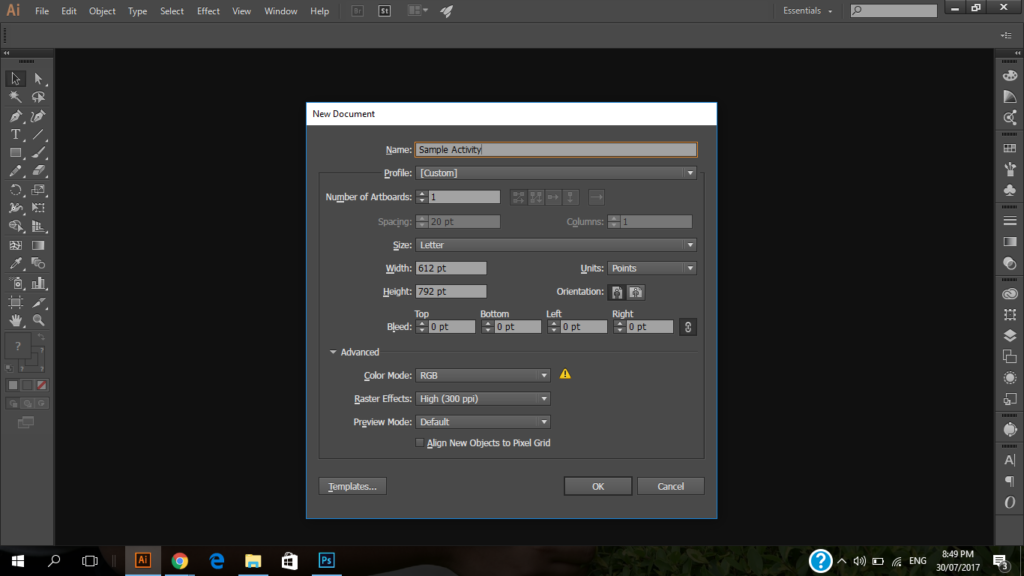
Open your Adobe Illustrator and create a new document. Make sure that the Color Mode of the document is set to RGB and the raster Effects must be high to have a better output.
Step Two
Copy the image to your Illustrator and just position it outside the art board so you can easily see the effect. 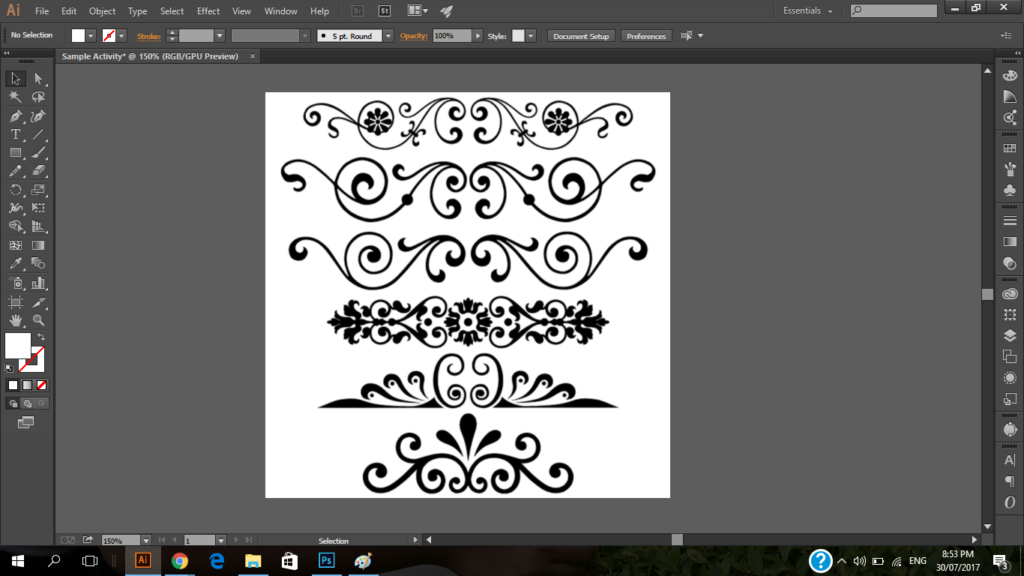
Step Three
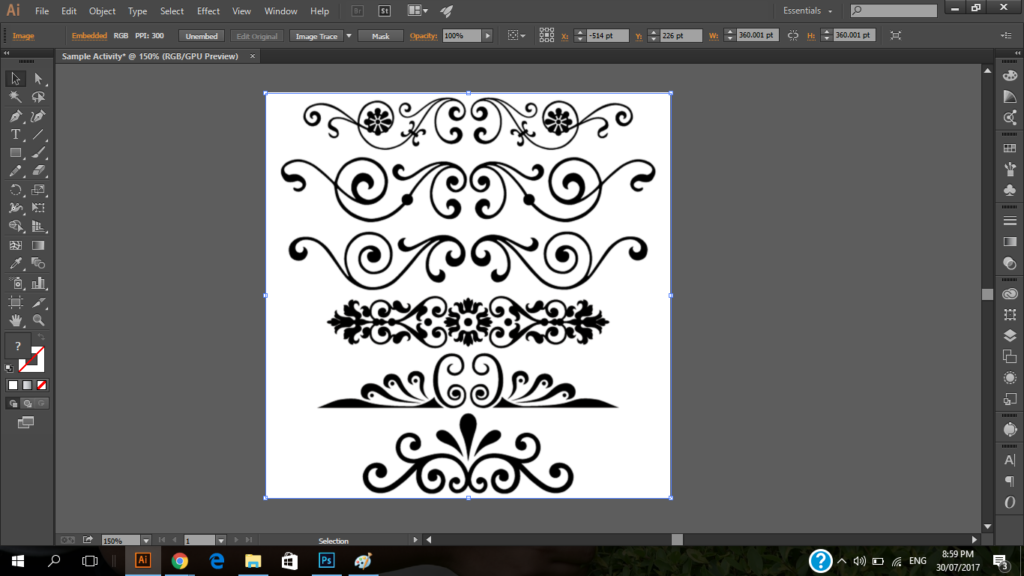
Make sure that the image that you will be using is clear. If you will be using a light-colored image, you have to edit it first in Photoshop to make the color darker. Highlight the image.
Note: This is only for Black and White.
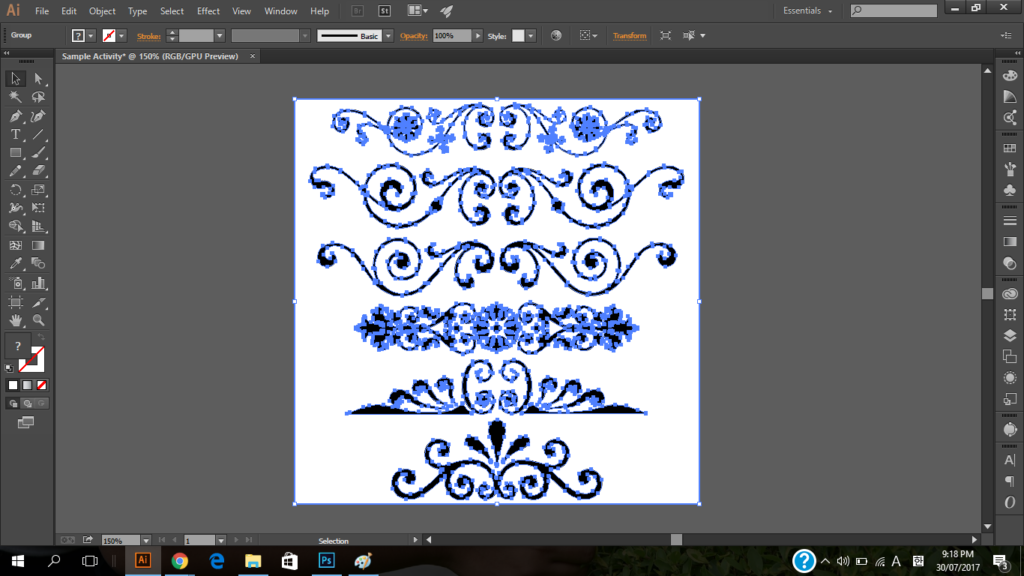
Fourth Step
If you already highlighted the image, the Image Trace options will show at the top of the art board. Choose Image Trace then wait until the process is done.
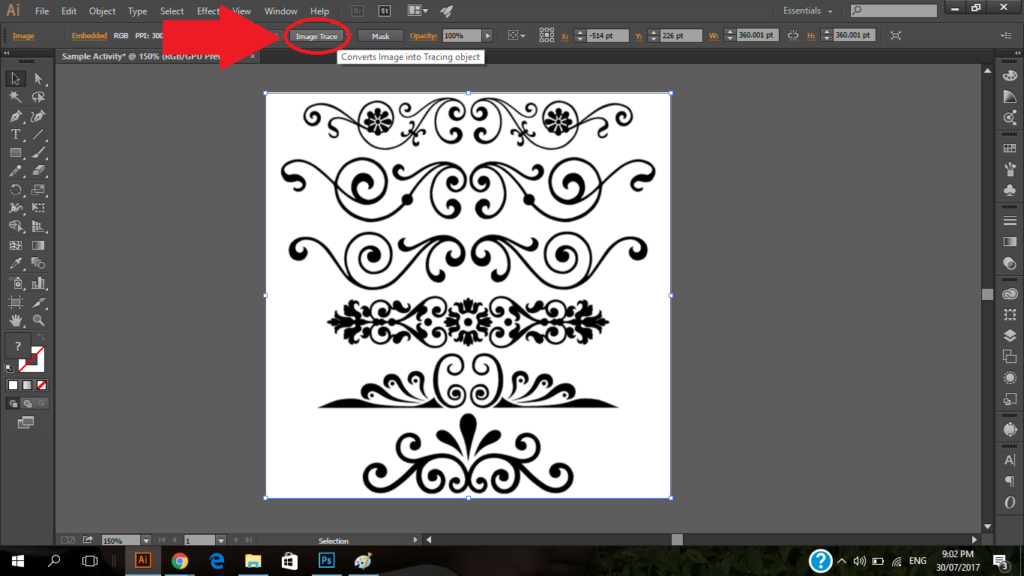
Image Trace Output:

Step Five
After the Image Trace process, click the Expand button. This will convert tracing objects into paths.
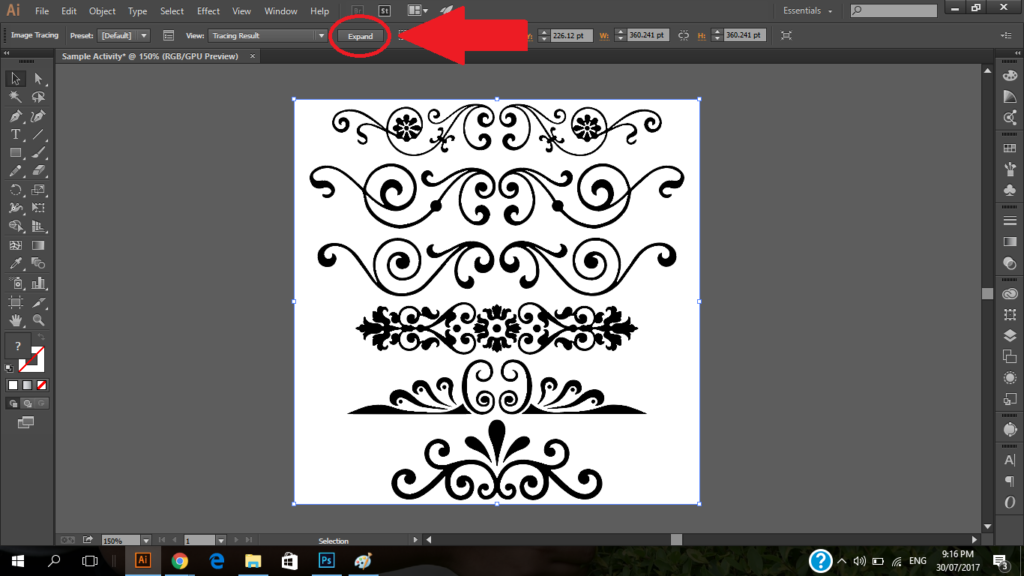
Expand Output:
Step Six
After converting the tracing object into paths, you have to ‘ungroup’ the image so you can remove the white background of the image. You can also separate the elements in the image.
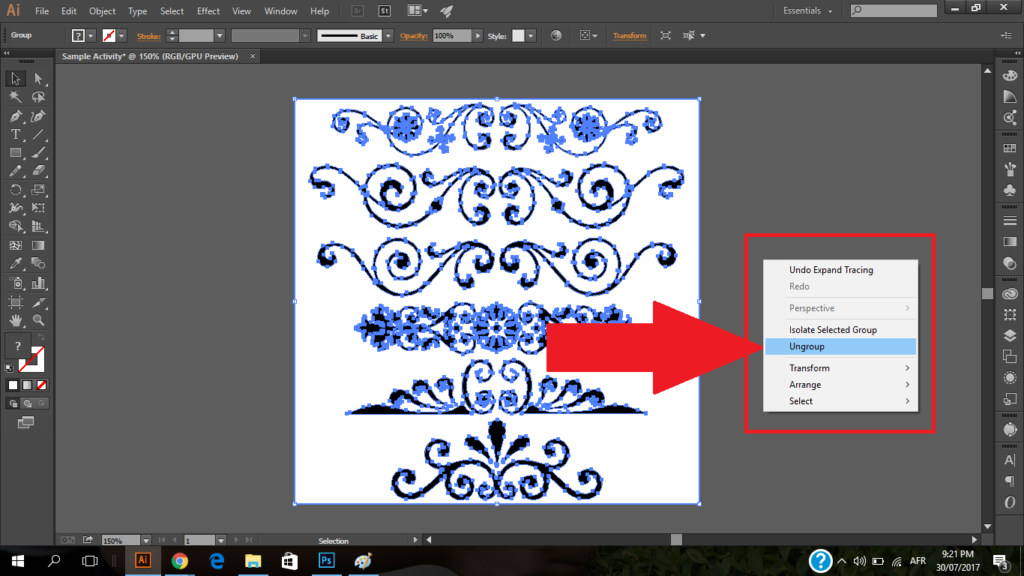
Output after ‘Ungrouping’ and removing the white background of the image:
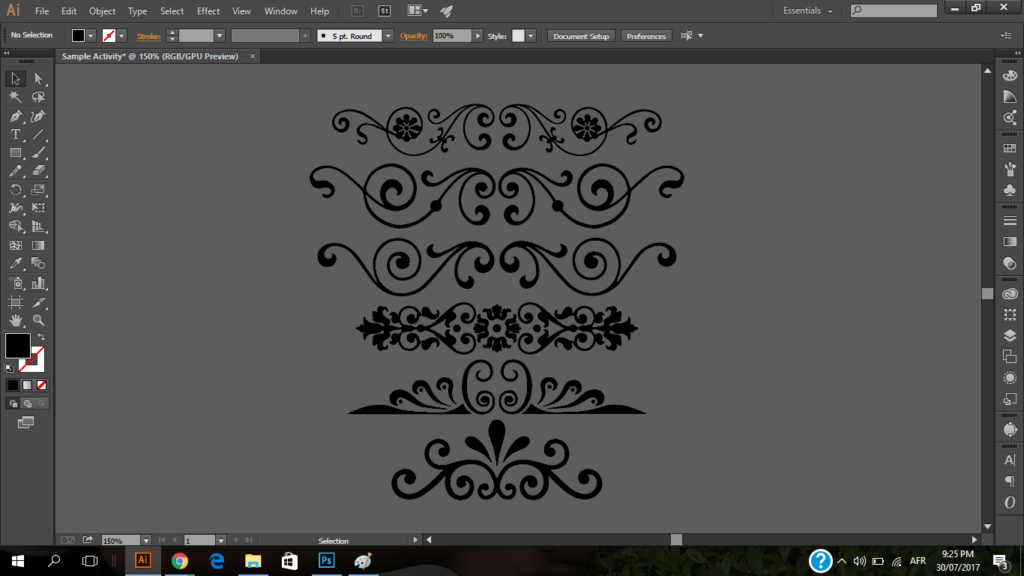
You can now use the ornaments in the image; just choose which part of the image you want.