How to create a logo using Photoshop
Here, we’re going to learn how to create a simple logo using Adobe Photoshop. For this tutorial, we’re going to be using the Starbucks logo for reference. Not that this tutorial expects that you’re already have some familiarity with using Adobe Photoshop.
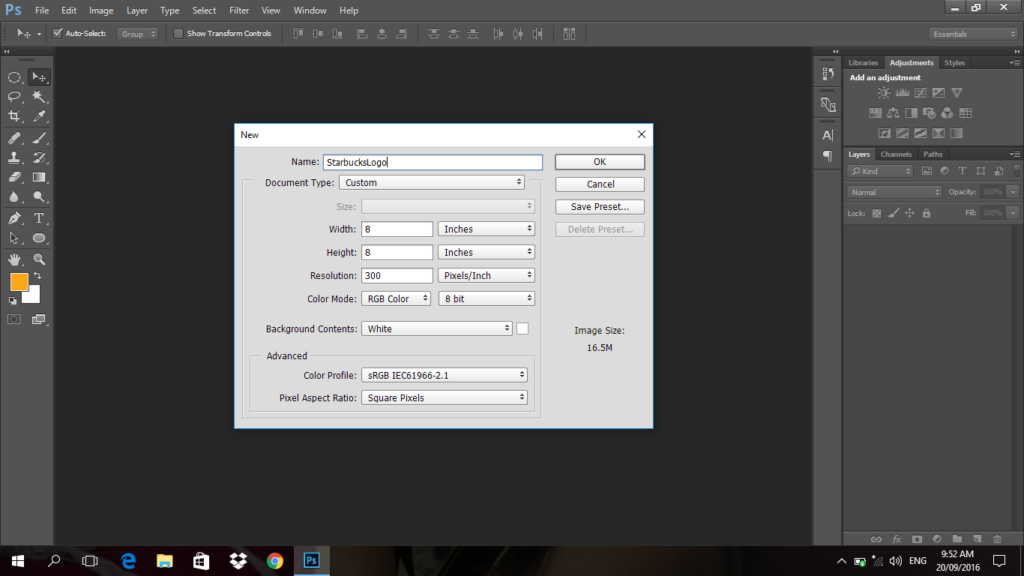
1. Create New a Document. Press Ctrl + N (Windows) Command + N (Mac) to create new document. I will set the width and the height to 8 inches and resolution to 300 pixels/inch.
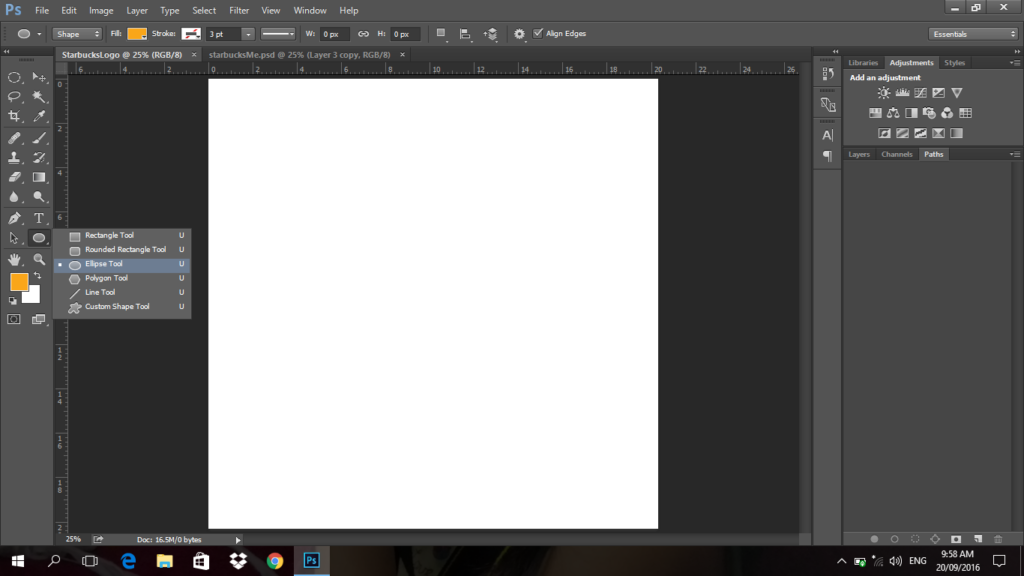
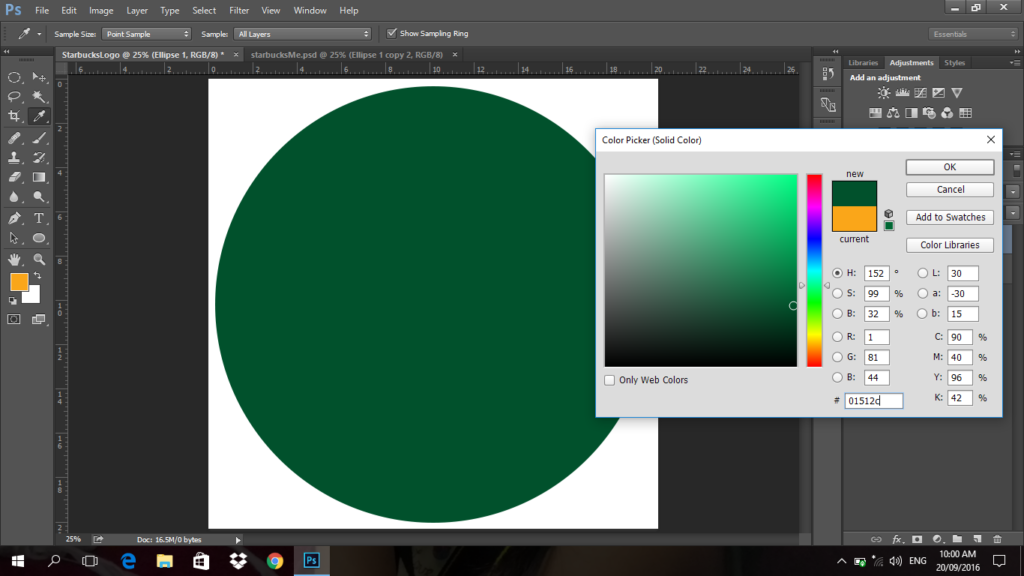
2. Draw a circle by using the Ellipse tool. Hold shift to preserve its aspect ratio.
3. Double click the shape in the layer panel to change the color of the shape. Choose #50112c to have a green color that is similar to the color of the logo of Starbucks. Click OK.
4. Press Ctrl + J (Windows) or Command + J (Mac) twice to have two duplicates of the circle.
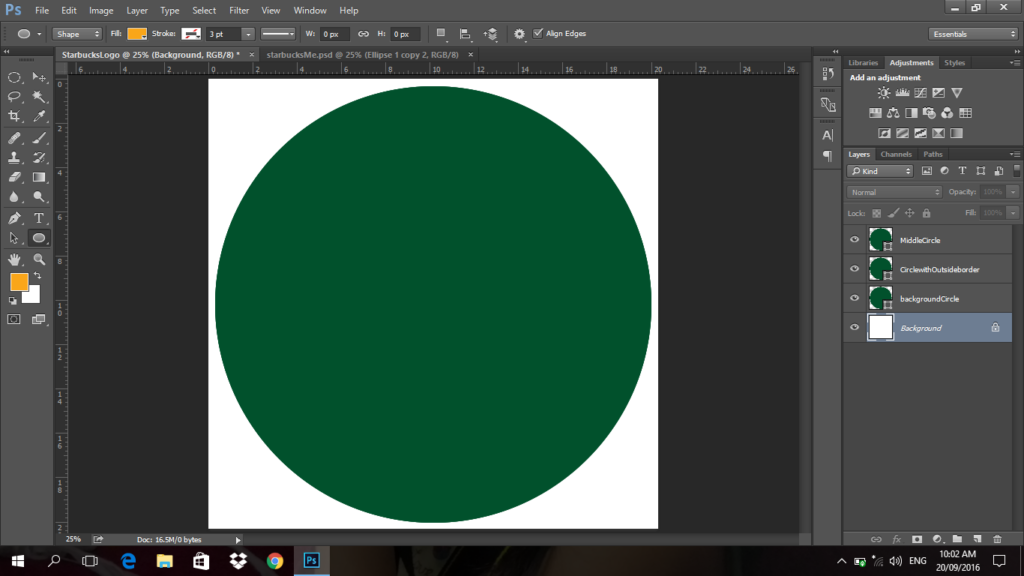
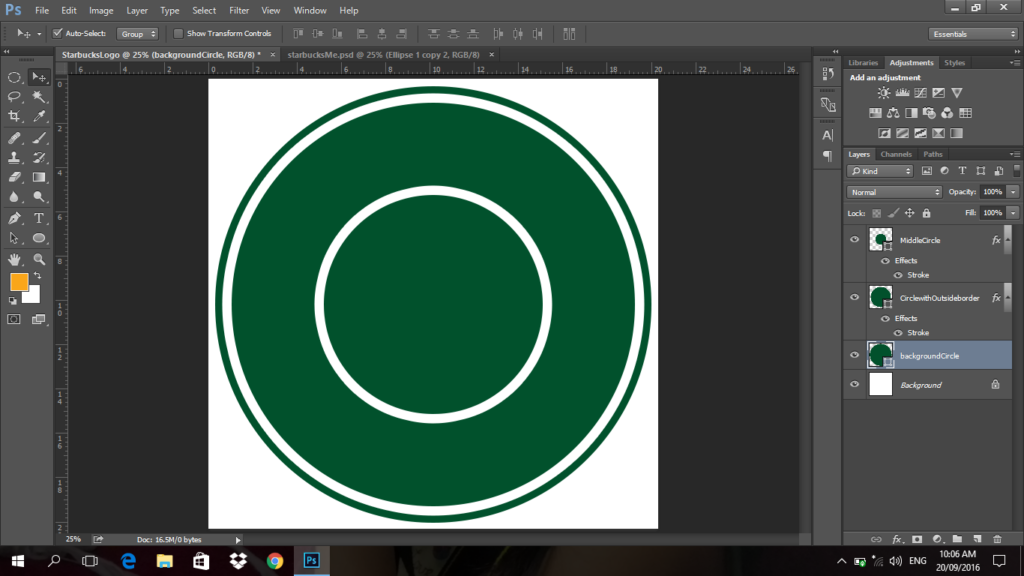
5. Rename the original circle as “BackgroundCircle,” the second circle as “MiddleCircle” and the last one as “CircleWithOutsideBorder“. Right-click the “CircleWithOutsideBorder” layer, then choose Blending Options. Click Stroke and adjust the stroke size and change the color to white or ffffff. then click OK.

6. Then, drag the “MiddleCircle” layer to the top of the “CirclewithOutsideBorder” layer. Add a stroke to the “MiddleCircle.”
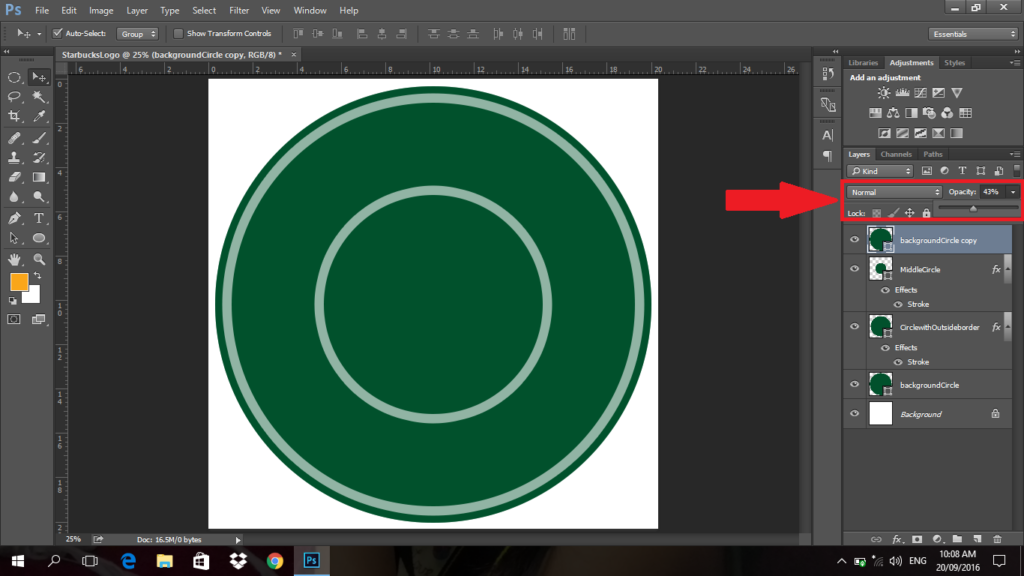
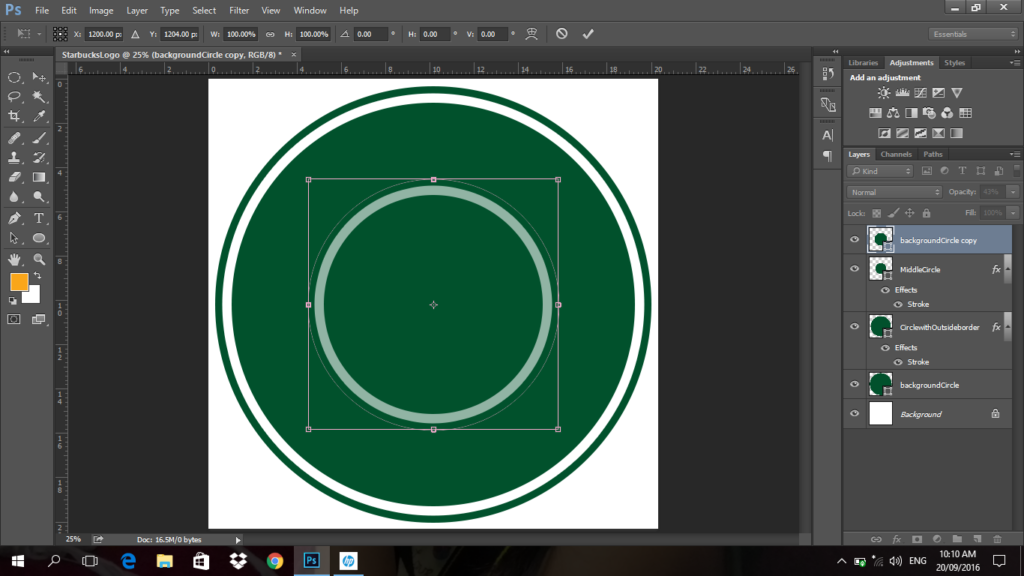
7. Duplicate the “BackgroundCircle.” This will be our path to create a nice curve for the text. we have to resize the copy a bit bigger than the “MiddleCircle.” Hold Alt + Shift to preserve the ratio.
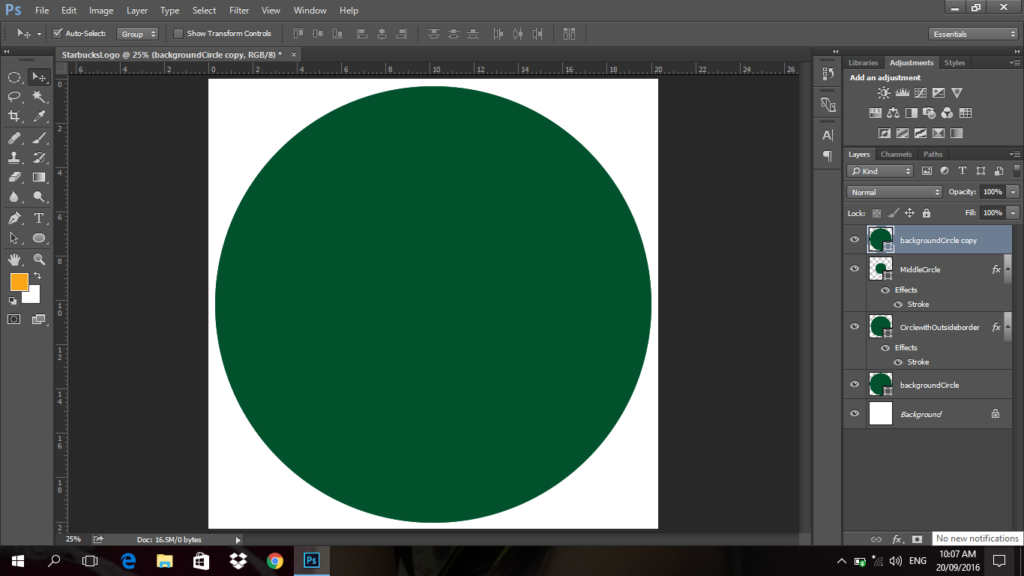
8. Lower down the opacity so we can still see the size of the “MiddleCircle.”
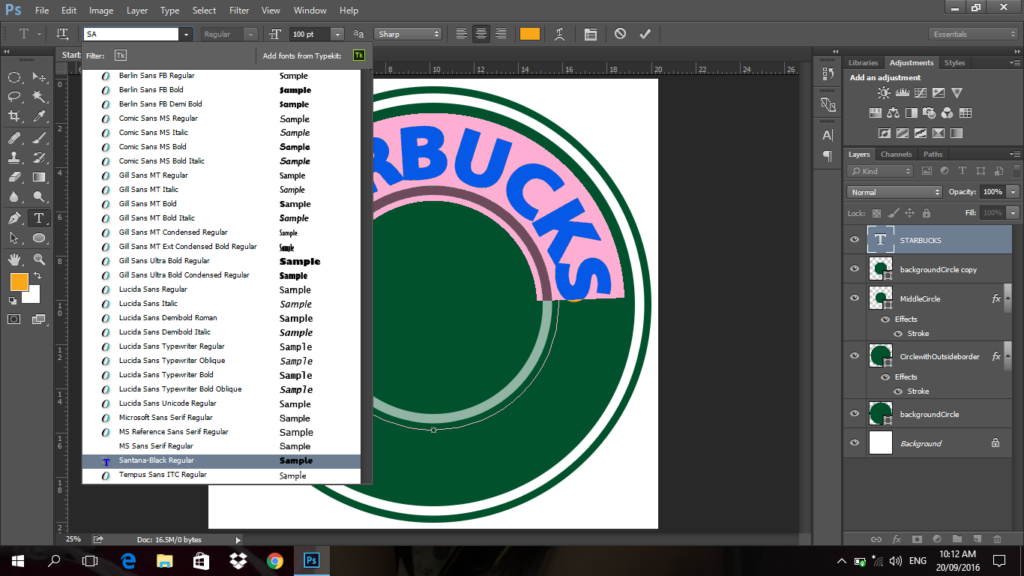
9. After resizing, click the “BackgroundCircle” copy then select the Horizontal Type tool to add the text. As you can see in the image below, their are 4 points in the circle. Now, click the top middle point of the circle. Then, type in STARBUCKS.
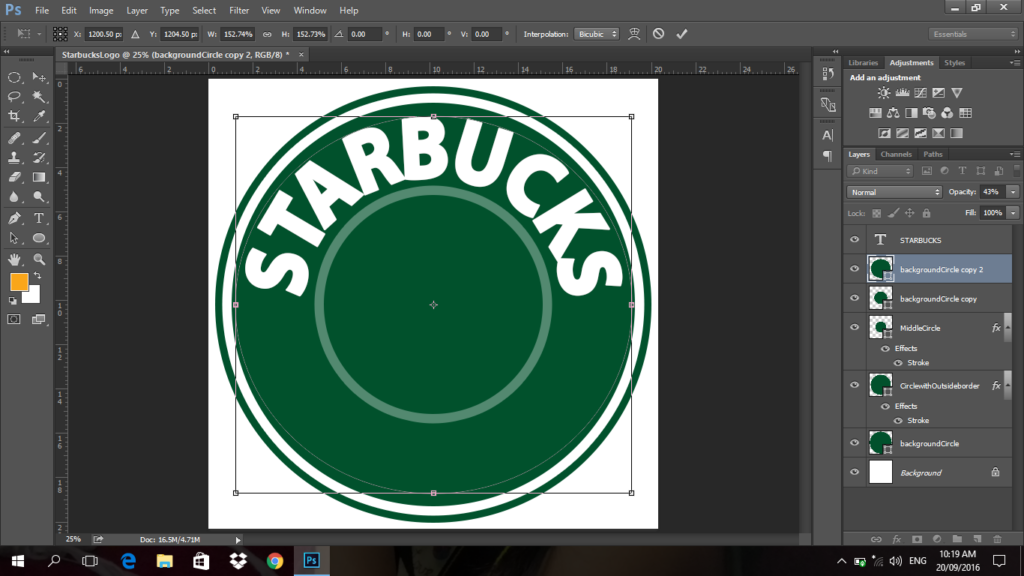
10. Then, change the font style to Santana-Black Regular. If you don’t have the font, download it first then install the font so you can use it for this logo. Make the font color white or ffffff. Then click the check icon above.
11. Then duplicate the “BackgroundCircle” copy to add Coffee below. But before typing COFFEE, you have to resize first the shape you duplicated. Make it as big as the STARBUCKS text. So that the It will be at the same size.
12. Same as with the STARBUCKS text, you have to locate the 4 points of the shape, but this time, you have to click the bottom center point, then type COFFEE.
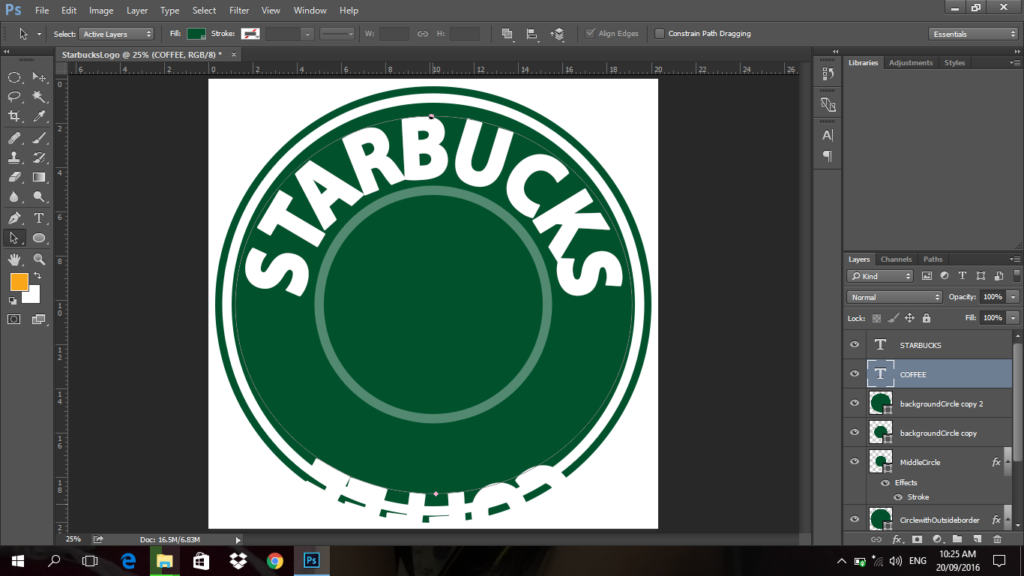
13. You notice that the text is inverted. Maybe this is not what you expect. But we still have something to do to copy the Starbucks design. So, you are done with the text, choose path selection tool in the Tool panel. Then hover it to the text then click and hold shift before you drag it up. Then there we go, the text is now on its correct position.
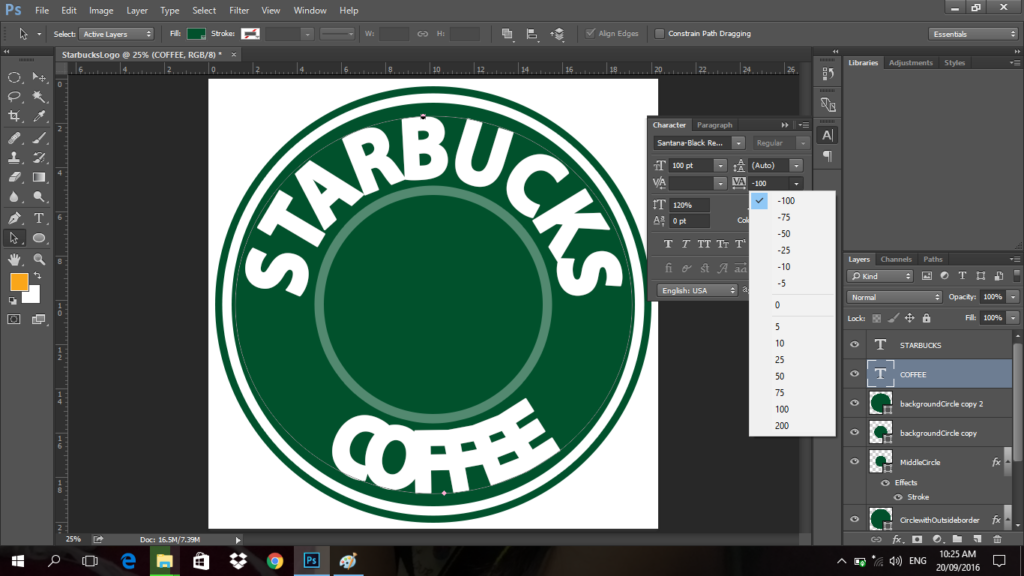
Now, we will adjust the text spacing to make it readable.
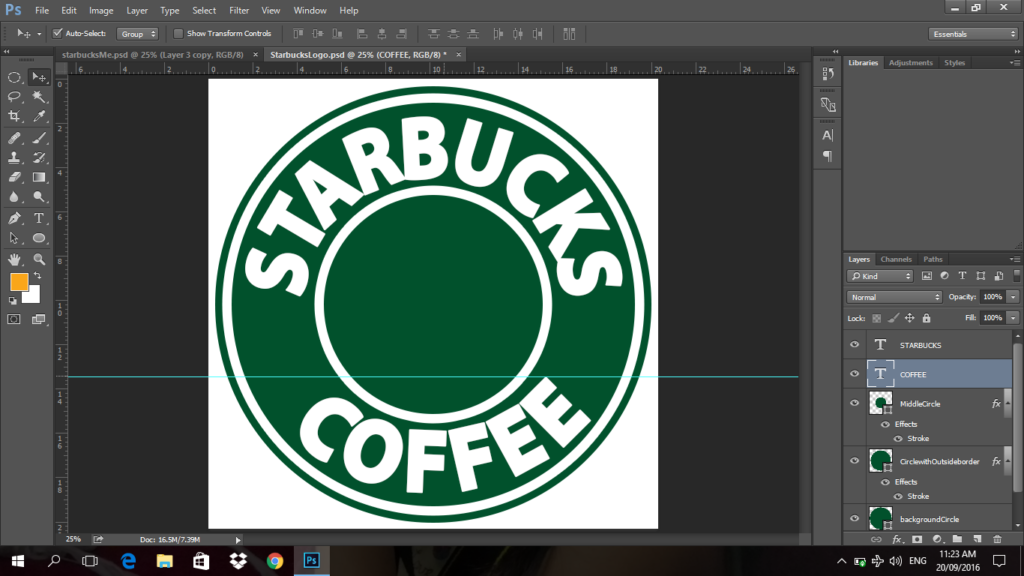
14. If you notice, the text is not yet straight. so we have to use the ruler to have a reference, just click in the ruler and drag it down. Then, if you have already the blue line, press ctrl + T to show the Free transform and then we will rotate it manually.
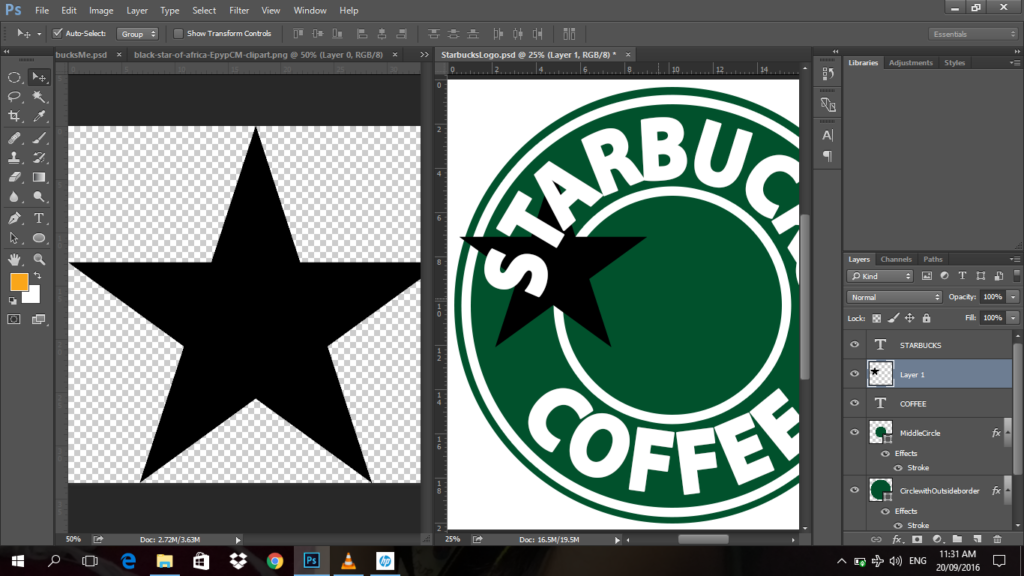
Ok, so we have already the Starbucks coffee. What are missing are the Stars and the image in the middle of the logo. You have to download first the star and the image in the logo.
15. if you have already the images, open in it Photoshop. Then, to have 2 windows for the 2-documents, click window -> arrange -> 2-up Vertical.
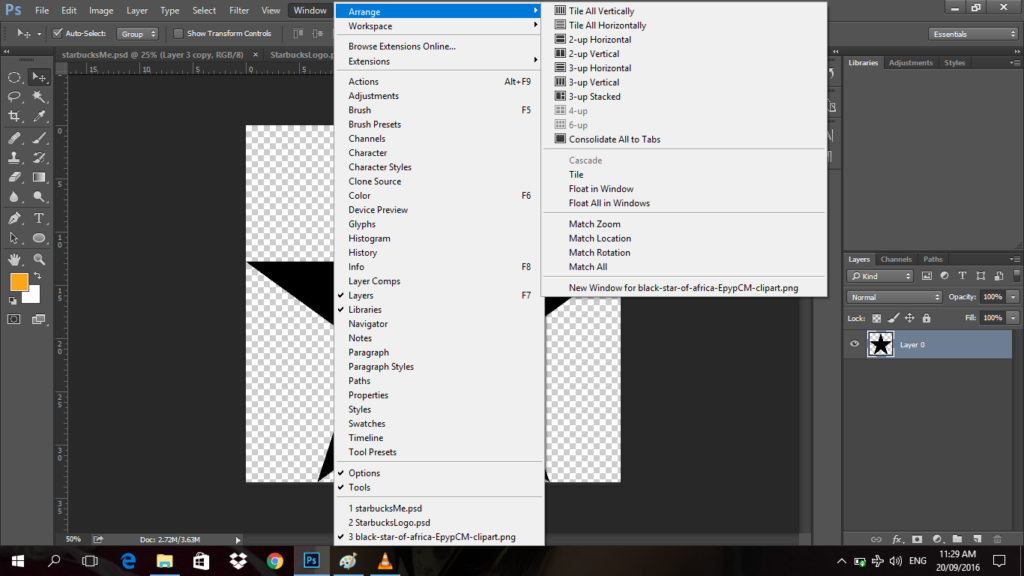
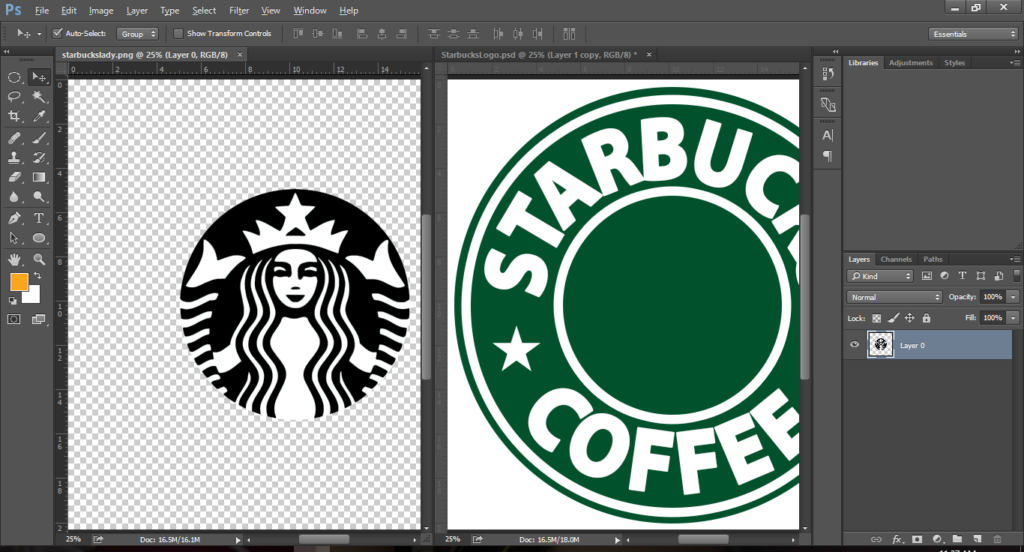
16. Then you have now 2 windows in you screen. Then next, click the image that you want to drag and click then drag to the document that we are working on. If you have the star in your document you have to resize it to replicate the original logo. Then, duplicate it then drag it to the opposite side.
17. Now the only thing that is missing is the Image in the middle. So, just do the previous steps to copy the image in the middle. Then after that, drag it to the middle just like in the original image.
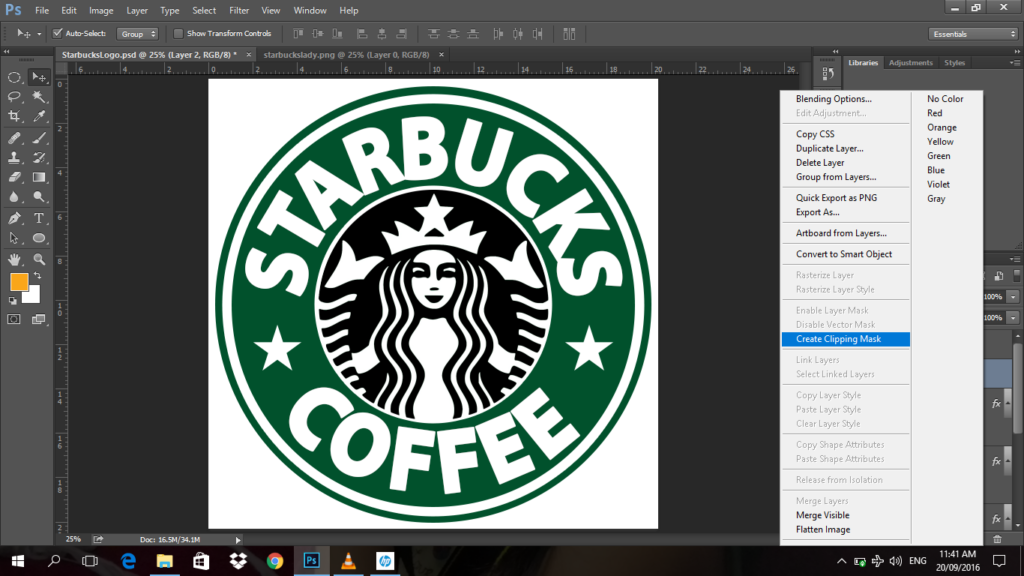
18. Then drag the “MiddleCircle” Layer below the layer of your image. Then, Right click to create clipping mask. and then, adjust the position if the space is not balance. And there you go, you have now your replica of Starbucks Logo.
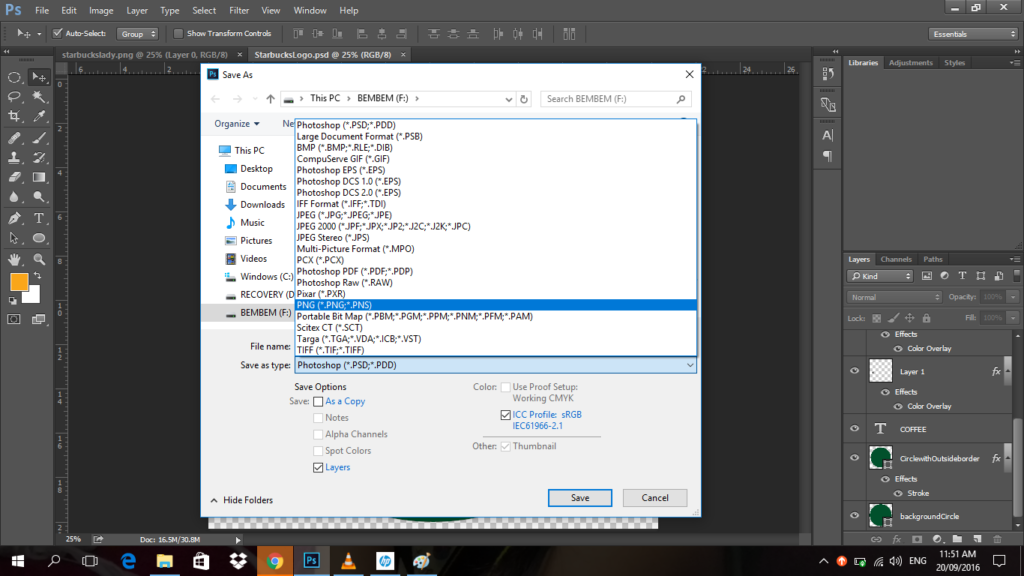
19. To save your logo, go to File and choose Save as. Then change the File type from PSD to PNG file format.
Final Output: