

Magma Text Effect
In this tutorial, you will acquire information on how to create a magma text effect using Adobe Photoshop. With the use of layer styles and textures, you will get a hot fiery text effect with a molten rock in just few easy steps.
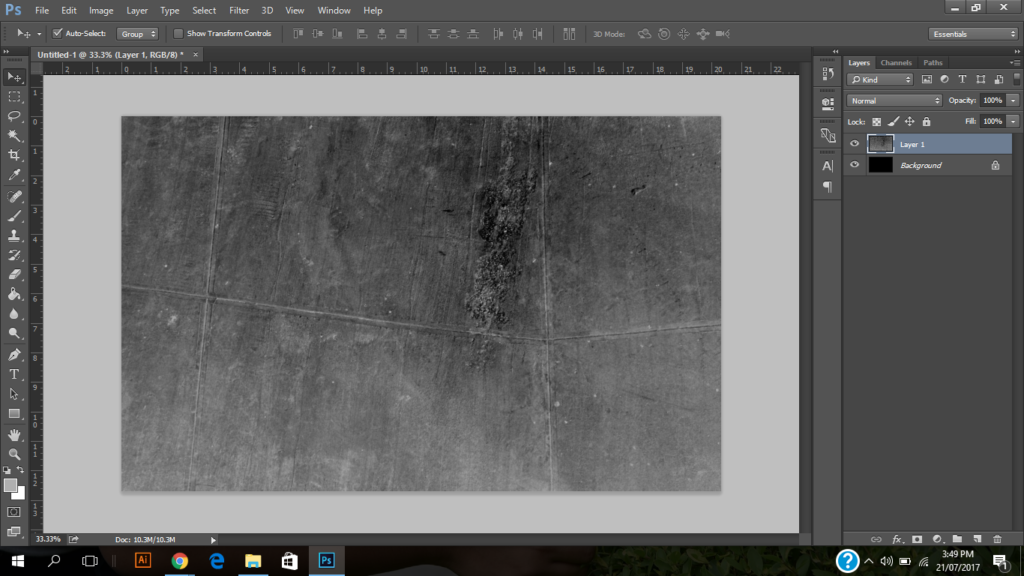
1. Add background
Add a new layer wherein you will use it as your background image. (I created a background using a concrete cement style brush.) Note: If you don’t have the concrete style brush, you can use a different background or you can download new brushes on the Internet.
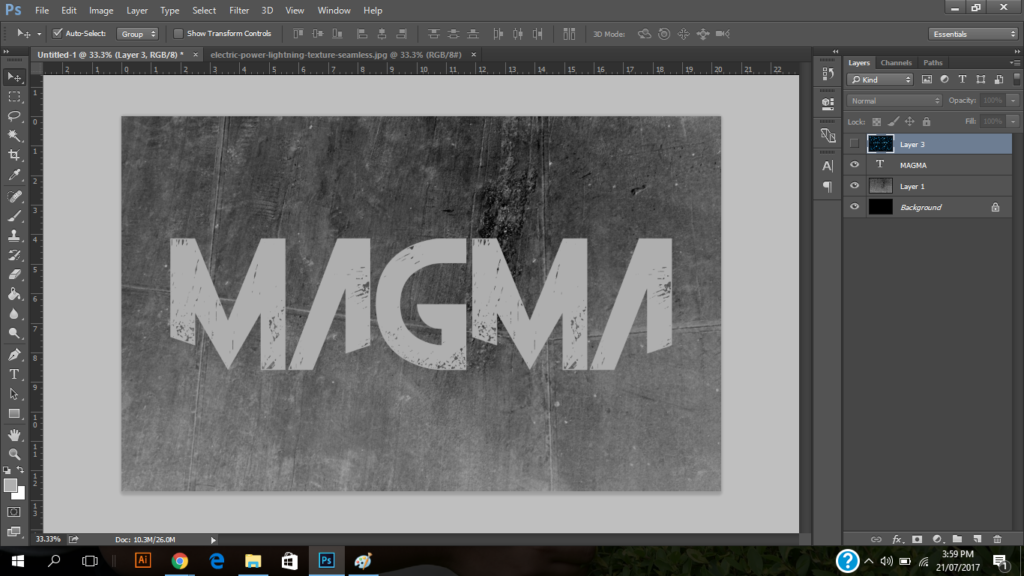
2. Add text
To add a text in the canvas, you have to choose the text style tool. After clicking the tool, you can choose a font style for your text. In this tutorial, I am using The Frontman Regular, but you can use whatever font you desire.
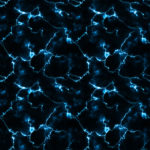
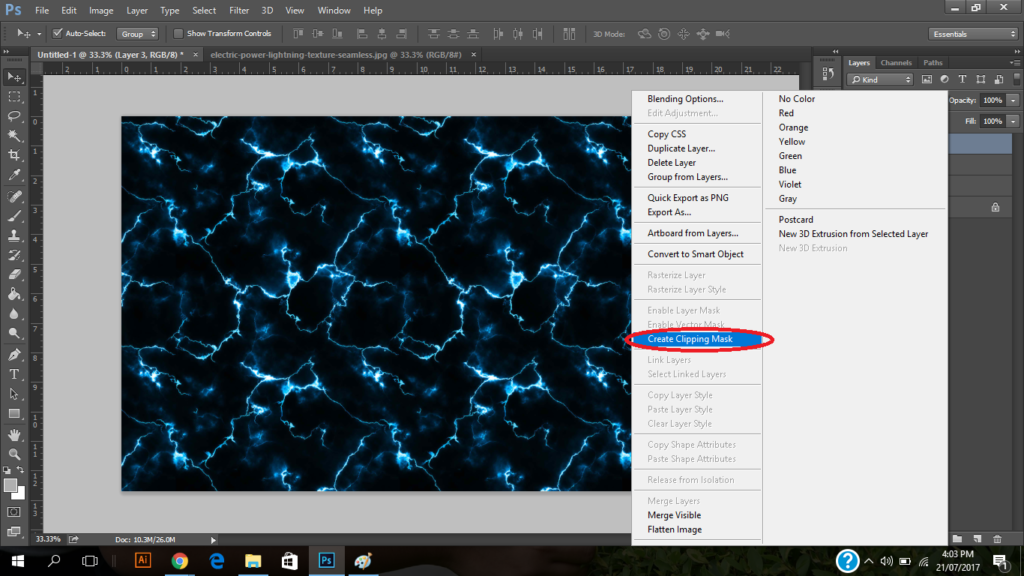
3. Add electric texture
Just copy the electric texture to the canvas. Make sure that the electric texture is on the top of the Magma Text Layer. Right click on the electric texture layer and then choose Create Clipping Mask.
4. Add a new fill or adjustment layer
Add a new fill or adjustment layer on top of the electric texture and create a clipping mask. You have to select levels and adjust it to have the desired glow.

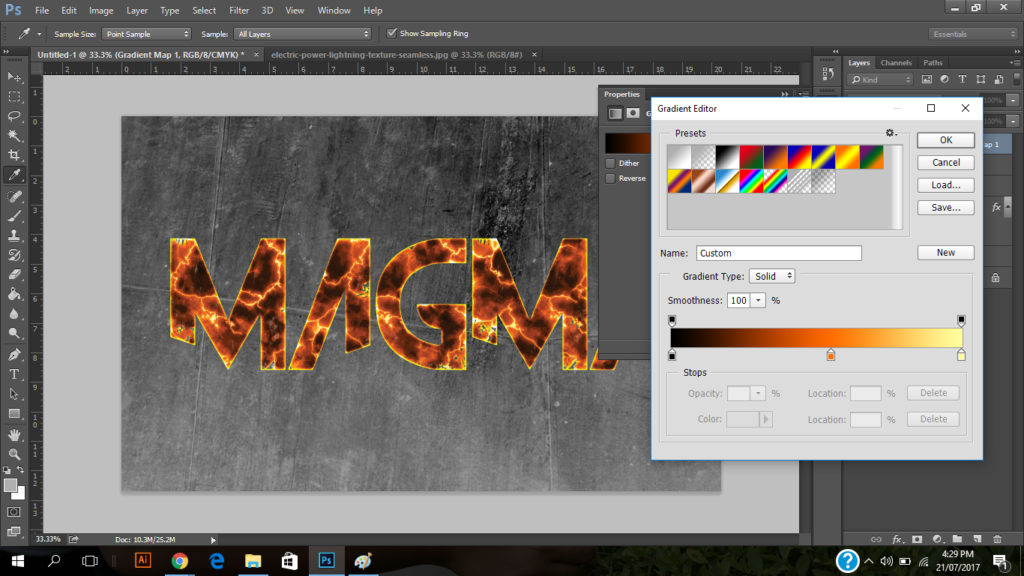
5. Add color to the texture
You can add color to the texture using gradient map. It is also found in the adjustment layer.
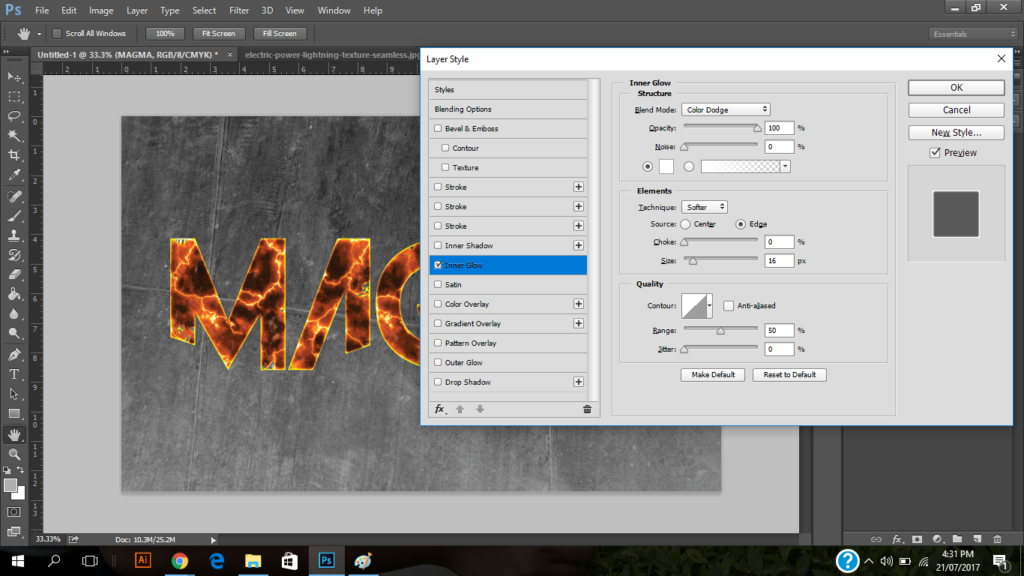
6. Add layer styles
To add a glow to your text and make it more realistic, you have to add a layer style to the text layer. Right click on the text layer and then choose a blending option. You can add styles to your text layers such as Inner Glow and stroke if you think it is necessary.
7. Final output