
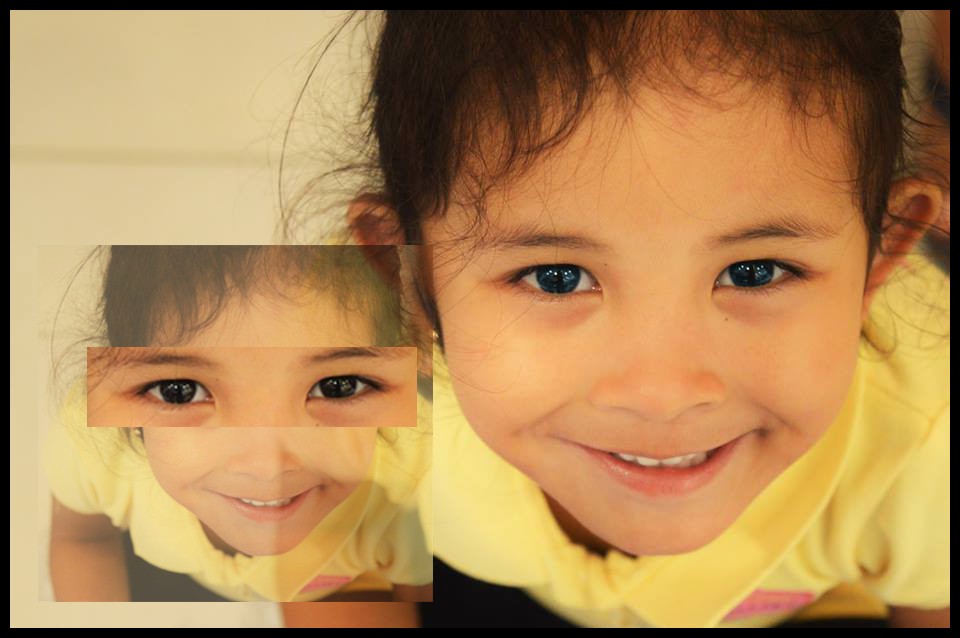
We will learn how to change eye color of an image using Photoshop in this tutorial. Actually, this is not just for the eye color, you can also use this for changing a color in an image. You can experiment what color you have to use and we will use the Hue/saturation adjustment layer to make this activity fast and fun.
Change Eye Color in an Image Using Photoshop
![]()
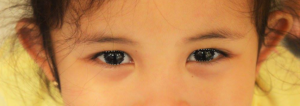
Step 1: Zoom In on the part that you wish to change.
By zooming the image in, we can see clearly the part of the image that we are going to edit. Go to the tools panel and select Zoom Tool or press letter “Z” in your keyboard.
Step 2: Choose a Selection Tool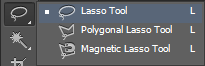
We will change the eye color of this image without affecting the rest of the image, which means we have zoom in to the eye. For that, I will use Lasso Tool. Select it in the Tools panel or press letter “L” on your keyboard.
Step 3: Select the colored area of each eye.
We just need to select the iris or the colored area in the eye part in the center. With the use of lasso Tool, we will draw a section around the colored area of the eye. To select both iris only, after selecting the first iris, you have to hold shift and there will be a “+” sign that will show in your lasso tool cursor. That’s the time that you will draw a selection in the next iris. You don’t have to select it perfectly cause we will clean it up later.
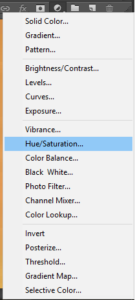
Step 4: Add a Hue/Saturation Adjustment Layer
If you are done selecting both eyes, you can now add the Hue/Saturation Adjustment Layer so you can change the color of the selection. You can find the Adjustment Layer icon at the bottom of the layers palette. Click the icon and choose Hue/Saturation.
Step 5: Select Colorize Option
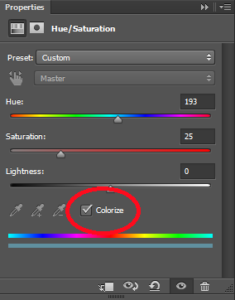
Choose colorize so that you can change the color into a more attractive color. Then you can change the color by sliding the slider in Hue, Saturation and Lightness. Mixing of these three depends on the image.
Step 6: Change Layer Blend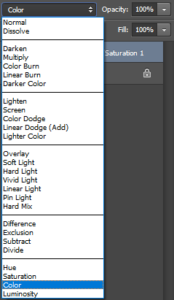
If you already changed it to your desired color, you have to change the layer blend form Normal to Color so that it will mix well in the image.
Step 7: Removing Excess Color
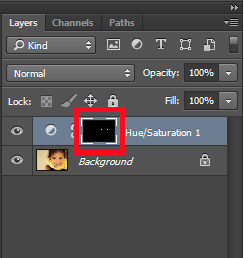
Before cleaning the excess color, you have to make sure that you are in the Layer Mask of the image so that the only part that you can edit is the part that you have already changed the color.
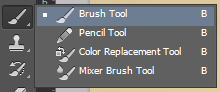
Step 8: Choose Brush and Start Cleaning
![]()
Choose Brush tool in the tool palette and make sure that the foreground is black and the background is white. You can switch the background and foreground color by clicking the arrow above the two colors.
Then, you can now remove the excess color in your selection. If you are done with this step, it means that you already have a new color in your image.
Final Output
